Buying a used rifle scope can be a fantastic way to get a high-quality optic at a lower price, but it comes with risks. You must know how to inspect thoroughly to ensure you’re making a wise investment and not buying a lemon. This guide will walk you through the key steps to confidently assess any used scope before you buy.
1. The Initial Visual Inspection: Look for Red Flags
Start by visually checking the scope’s exterior. This will give you a clear picture of how the optic was treated.
- Overall Condition: Look for noticeable signs of damage. Deep dents, dings, or gashes on the main tube can indicate the scope has been dropped or handled roughly. Light ring marks from mounting are standard, but deep gouges suggest improper installation and could have stressed the tube.
- Model and Serial Number: Make sure that the scope you are inspecting is the same serial number (if listed on the box) and model number as the box.
- Finish: Examine the finish for scratches or fading. While cosmetic, significant wear can signify heavy use in the field.
- Moving Parts: Check the power ring, eyepiece, and objective bell. They should turn smoothly without any binding or grinding.
2. The Critical Lens Inspection: Clarity is Key
The lenses are the most essential part of a scope. Even minor damage can severely impact performance. This step is crucial for avoiding a bad purchase.
- External Lenses: Hold the scope up to a light source. Check the lenses of the front (objective) and back (eyepiece) for scratches, chips, or cracks. Even a hairline scratch can affect the image.
- Internal Lenses: Look through the scope at a bright, plain background. Is the image clear? Check for any dust, debris, or moisture trapped inside. A hazy or foggy appearance is a major red flag for internal damage, often a sign of a broken seal.
- Coating Check: Look for peeling, bubbling, or scratches on the lens coatings. Damaged coatings reduce light transmission and can make the image appear dull.
Pro-Tip: Use the flashlight app on your phone to shine a light from the side of the lens. This will highlight minor scratches or internal debris that are hard to see otherwise.
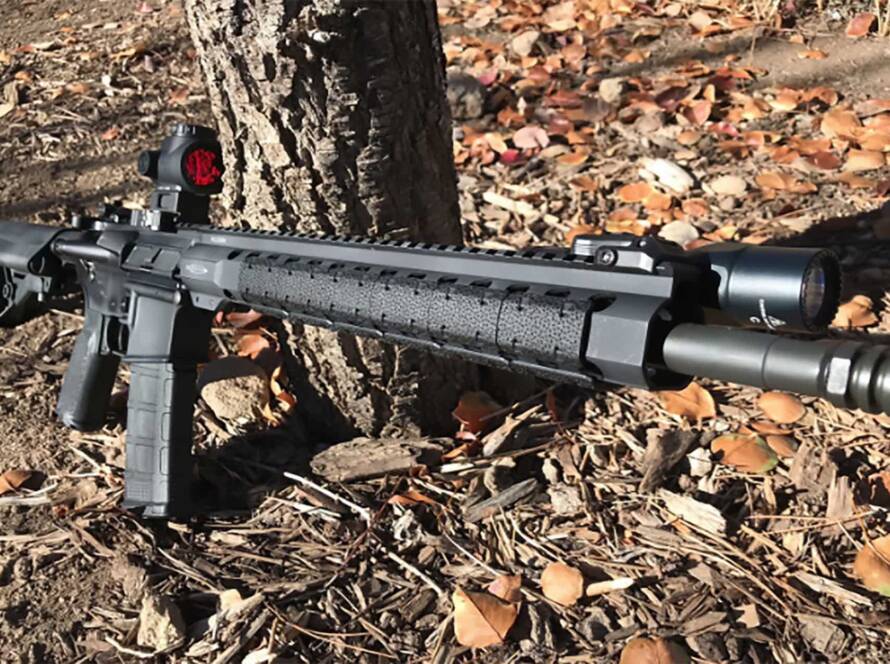
3. Turrets, Reticle, and Functionality: Test Everything
A scope isn’t just a lens; its mechanical components must also function perfectly.
- Turret Check: Turn the elevation and windage turrets. They should have a clear, crisp, and consistent click with each adjustment. A “mushy” or inconsistent feel indicates a potential issue with the internal mechanism. Turn the turrets to their full range and back to check for binding.
- Reticle Inspection: Look through the scope and focus on the reticle itself. Is it sharp and clear? Check for any broken lines, smudges, or debris on the reticle.
- Illuminated Reticle: Turn it on if the scope has an illuminated reticle. Cycle through all the brightness settings to ensure it works correctly and doesn’t flicker.
- Parallax Adjustment: If the scope has a parallax knob, turn it to its full range. The focus should change smoothly as you adjust it.
Expert Tip: To quickly test turret tracking, turn the turret 10 clicks up, then 10 clicks back down. The hash marks should align perfectly with the original zero.
4. What to Do If You Find a Problem
Finding an issue doesn’t always mean you should walk away. Here’s how to assess what you’ve seen
- Minor Flaws: A small cosmetic scratch on the scope body or a light ring mark might not affect performance and could be a point for negotiation.
- Major Flaws: A foggy scope or turrets that don’t track are hard deal-breakers. These issues indicate severe internal damage that can be expensive or impossible to fix.
- Case Study: “I once inspected a scope that looked pristine on the outside. But when I checked and compared the reticle to what I thought I was buying, there were differences. It turned out that this was an older, discontinued reticle; not the one the seller told me I was buying.”
Frequently Asked Questions
Q: Is buying a used scope online without seeing it in person safe?
A: It’s risky. While many reputable online retailers offer good return policies, you can’t inspect properly until you have the scope. Always check the seller’s return policy and ask for detailed photos and a video of the scope’s functionality.
Q: How can I tell if a scope has been repaired?
A: Look for signs like stripped screws, tool marks around the turrets or objective bell, or a non-factory seal. The seller should note a reputable repair.
Q: What is a “box test,” and should I do it?
A: A box test involves shooting at a target while making specific turret adjustments to see if the point of impact moves predictably. It is the gold standard for verifying turret tracking. While you can’t perform this test before buying, you can ask a seller if they have documentation of a recent box test.
Final Thoughts: Don’t Be Afraid to Walk Away
A few minutes of careful inspection can save you hundreds of dollars and a lot of frustration. Don’t hesitate to leave the deal if something doesn’t feel right. There are plenty of scopes that are well used on the market. Following these steps, you can confidently find a quality optic that meets your needs
When to Walk Away (Quick Checklist):
Fog or moisture inside the scope.
- Turrets that don’t click or return to zero.
- A damaged or broken reticle.
- Significant dents or tube damage.
Are you looking to sell your used optic or upgrade? At RKB Armory, we specialize in helping shooters buy and sell quality used gear.