A properly adjusted rifle scope is the key to accuracy, whether you’re a seasoned hunter or a novice at the range. Without it, even the most expensive rifle and optic combo is useless. This guide will walk you through the essential steps to sighting in a rifle scope, from understanding your equipment to making precise windage and elevation adjustments.
Understanding Your Scope’s Anatomy
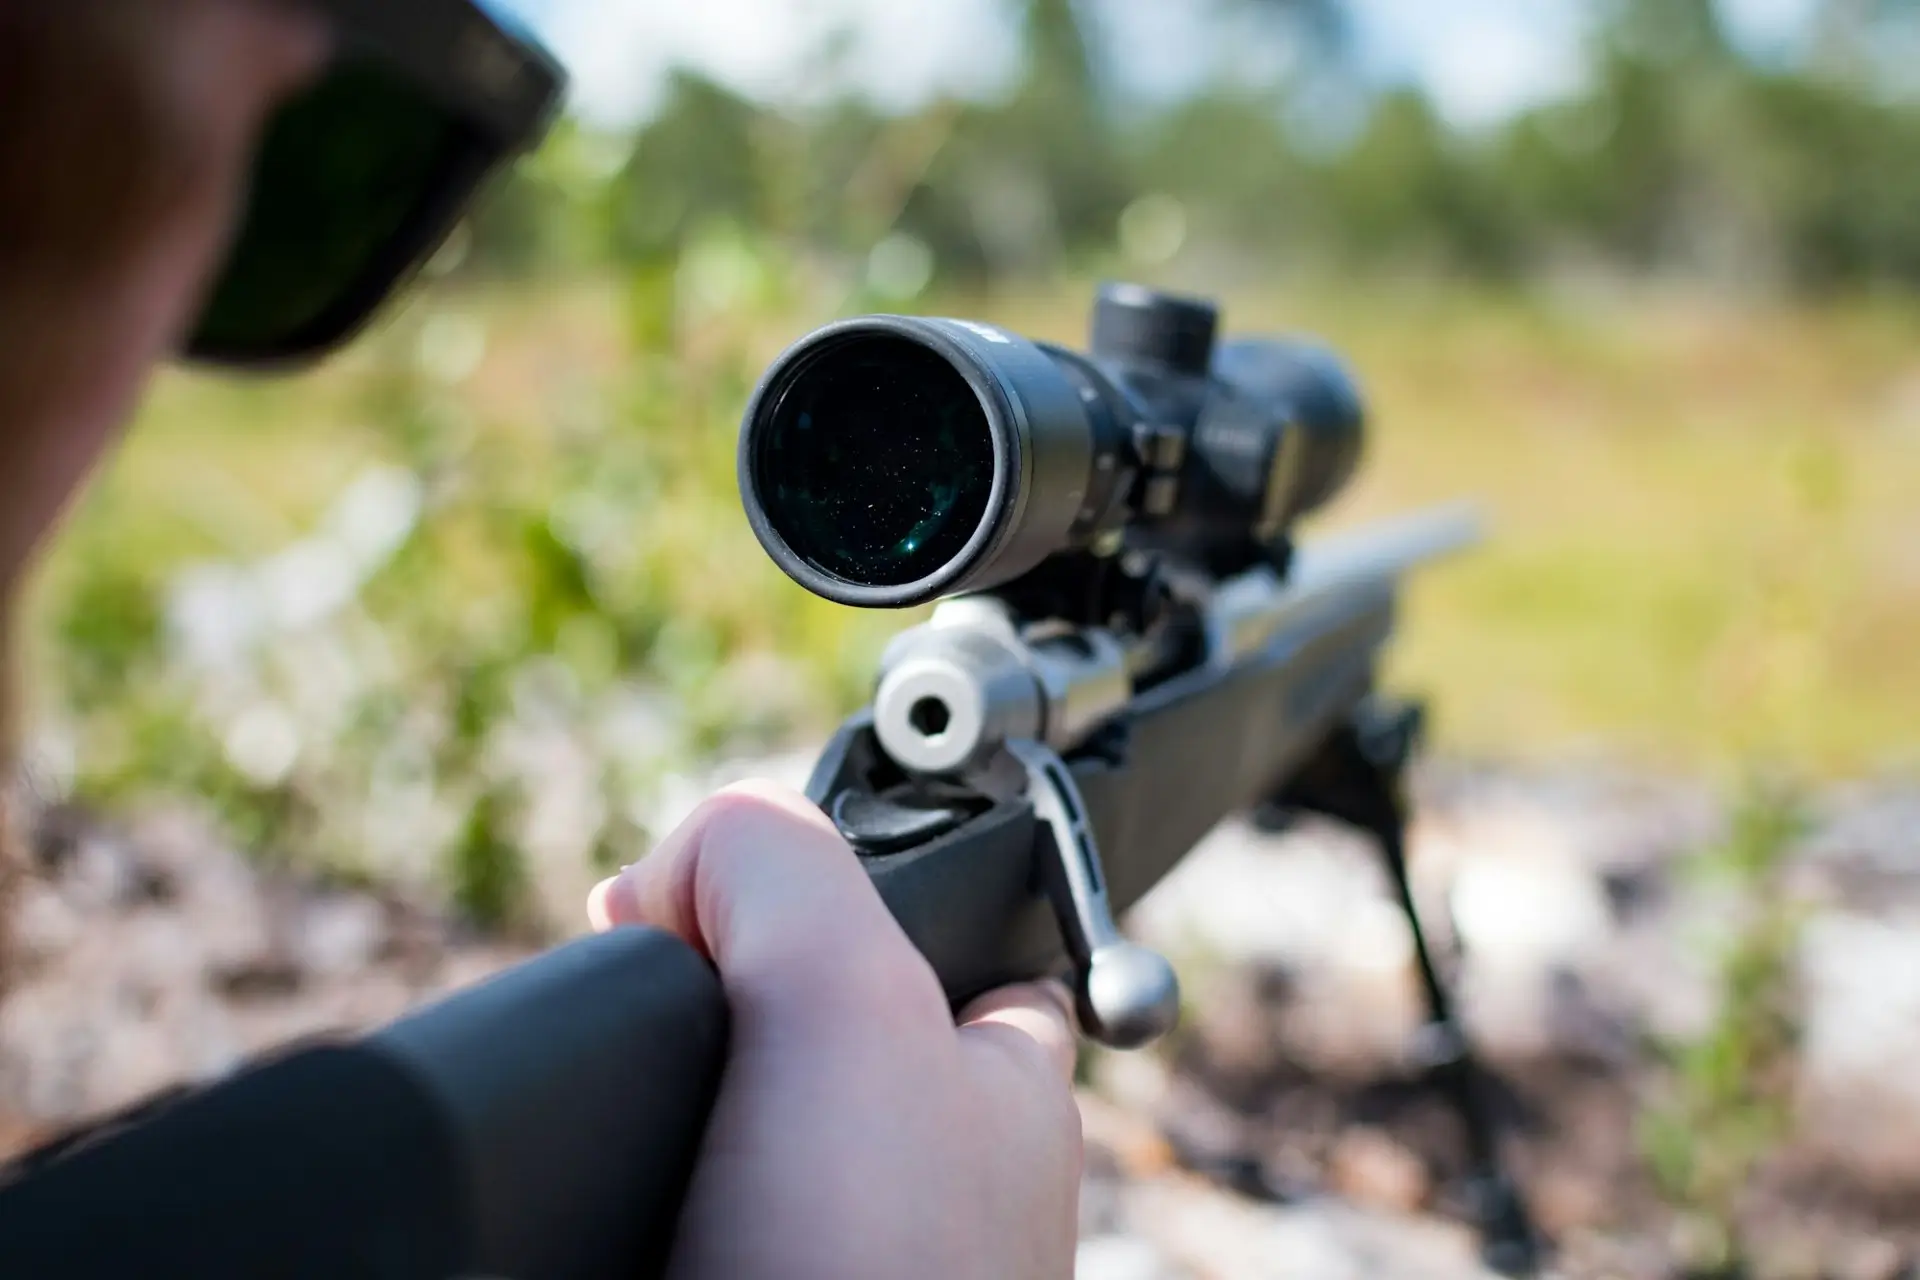
Before you start, you must know the parts of your scope that you’ll adjust.
- Turrets: These are the knobs on your scope used for making adjustments. The top turret is for elevation (up and down), and the side turret is for windage (left and right). Each “click” you hear or feel as you turn a turret corresponds to a specific unit of measurement, either MOA (Minute of Angle) or MIL (Milliradian).
- Parallax Knob: This is often found on the side of the scope. It corrects for parallax error, the apparent shift in the target’s position relative to the reticle when you move your head. Adjusting it ensures the reticle and target are on the same focal plane, a critical step for long-range precision.
The Zeroing Process: Your First Step to Accuracy
Zeroing is the most critical step, aligning your scope’s point of aim with the bullet’s point of impact at a specific distance.
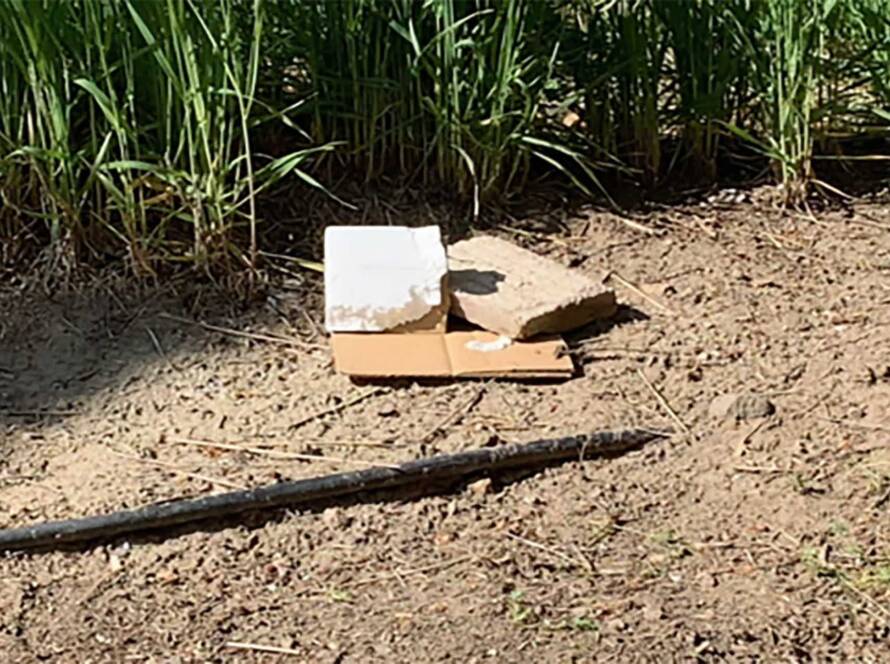
- Set Up: Choose a zeroing distance, typically 50 or 100 yards for most rifles. Use a stable shooting platform, like a bipod or sandbags, to eliminate human error. Ensure your scope is mounted correctly and all rings are torqued to the manufacturer’s specifications.
- Bore Sighting (Optional but Recommended): A bore sight can get you on paper quickly, saving you time and ammunition. It projects a laser from the barrel, allowing you to roughly align your scope’s crosshairs with the laser dot before you even fire a shot.
- Fire a 3-Shot Group: Aim at the center of your target and fire three shots. Don’t rush; focus on consistent technique. Using the same ammunition you plan for hunting or competition is best, as different bullet weights can change your point of impact, or be more or less accurate from your rifle.
- Adjust the Turrets: Look at your 3-shot group. If your shots are low and to the left, you need to adjust your scope to move the point of impact up and to the right. Use the turrets to “chase the bullet.” If a click on your scope is a 1/4 MOA, and your shot is 4 inches low at 100 yards (4 MOA), you must dial up 16 clicks (4 x 4 clicks per MOA).
- Confirm Your Zero: After making your adjustments, fire another 3-shot group. Repeat the process until your shots consistently land in the center of the target.
Fine-Tuning with Windage and Elevation Adjustments
Once your rifle is zeroed, you’ll use the turrets to make minor adjustments for different shooting conditions or distances.
- Elevation Turret: This turret adjusts for the effects of gravity, known as bullet drop. As your target gets farther away, you’ll need to “dial up” your elevation to raise your point of impact.
- Windage Turret: This turret compensates for horizontal movement caused by wind. If the wind is blowing from left to right, you’ll need to adjust your windage to the left to push your point of impact back to the center.
The Trajectory of a Bullet
Understanding the parabolic trajectory of a bullet is key to long-range shooting. A bullet doesn’t travel in a straight line; it starts to drop when it leaves the barrel due to gravity. Your zeroing distance is where your bullet’s path intersects your line of sight. Beyond that point, the bullet will begin to drop, and you will need to account for this drop with your elevation adjustments. Ballistic charts provided by ammunition manufacturers can help you predict how much a specific round will drop at various distances.
Case Study: A Practical Example
Let’s say you are zeroing your rifle at 100 yards, and your first 3-shot group lands 2 inches low and 1 inch to the right of the bullseye. Your scope has 1/4 MOA click adjustments.
- Elevation Adjustment: At 100 yards, 1 MOA is roughly 1 inch. Your shots are 2 inches low, which is 2 MOA. To correct this, dial your elevation turret “UP” by eight clicks (2 MOA x 4 clicks per MOA).
- Windage Adjustment: Your shots are 1 inch to the right, 1 MOA. To correct this, dial your windage turret “LEFT” by four clicks (1 MOA x 4 clicks per MOA).
After making these adjustments, fire another group to confirm that your point of impact has moved to the desired location.
Common Mistakes and Tips to Avoid
- Neglecting a Stable Rest: Trying to zero your rifle freehand will lead to inconsistent groups and frustrating results.
- Failing to Check Mounts: A loose scope mount or ring is a significant cause of inaccuracy. Always double-check that everything is secure before zeroing. A torque wrench is highly recommended to ensure proper tension without damaging your scope.
- Mixing Ammunition: Always zero and shoot with the same type of ammunition. Different bullet weights and loads will have different points of impact.
- Rushing the Process: Take your time. Allow the rifle barrel to cool between groups, and focus on consistent shooting fundamentals.
FAQs
Q: What is the difference between MOA and MIL?
Both are units of angular measurement used to adjust a scope. MOA is based on a minute angle, where 1 MOA is approximately 1.047 inches at 100 yards. MIL (Milliradian) is a metric-based system where 1 MIL is 3.6 inches at 100 yards. Neither is inherently better; it just depends on the system you prefer.
Q: How often should I re-zero my rifle?
You should re-zero your rifle scope whenever you change ammunition, after a prolonged storage period, or if the rifle has taken a significant bump or fall. Confirming your zero before any critical shooting activity, like a hunting trip, is also a good practice.
Q: Can I use the same zero for all distances?
No. A rifle can only be truly “zeroed” at one specific distance. While you can use holdovers or “dial in” for other distances, the bullet will follow a parabolic trajectory, and its impact will change relative to your point of aim.
Q: Do I need a professional to adjust my scope?
For most applications, no. Adjusting a rifle scope is a fundamental skill every rifle owner can learn. This guide provides all the information you need to get started, but a professional gunsmith can certainly help if you are unsure.
Ready to find the perfect optic for your rifle? Shop our extensive collection of high-quality scopes and optics. If you want to upgrade, consider selling your current optic to us for a quick and easy process.